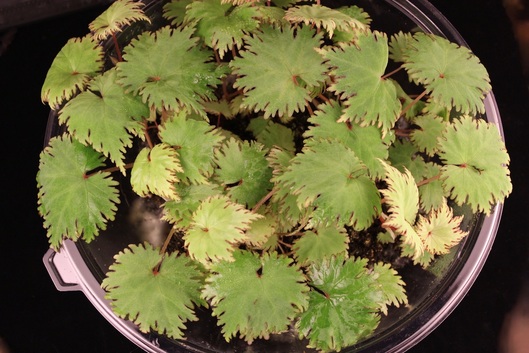
Begonia lyallii var. masoalensis
How to Make a Terrarium for Your Humidity Loving Begonias
I have found that growing plants in terrariums is rather easy and orders of magnitude less expensive than building a greenhouse. I have been able to grow some amazingly exotic plants that I would never have dreamed of doing indoors in my New England home. Several rare begonia species that I fell in love with require growing in a terrarium to mimic/maintain the humid environments they are native to, so I had to learn from trial and error and a little help from my friends how to do it.
Using terrariums yields several benefits for anyone wanting to grow rare plants at home. One of the most important benefits is that plant maintenance is reduced considerably. You do not have to be constantly watching the soil to see if it is dry as the terrarium stays fairly moist for a good while, sometimes for as long as several weeks! The covered terrarium becomes an enclosed eco-system, where natural evaporation comes back down to the soil/plant. This means that you can go on vacation and not have to worry about watering your plants or having to find and train someone to do this for you while you are away!
Another benefit of growing in a terrarium is that plants are kept in isolation. If one should get sick, whatever ails it will not be spread to nearby plants! It’s also a great way to quarantine new plants before they are introduced to your collection, or to isolate plants that need special care as they recover from any previous growing problem.
Having small to medium sized terrarium containers instead of large aquariums allows you to move your plants from room to room so you can enjoy them wherever you want, whenever you want, especially when they are putting on a flower show. You do not have to worry so much about wind/drafts or watering, just make sure you do not place a closed terrarium where it will get direct sunlight, as the temperatures inside will get so hot that the plant will die. Bright indirect light is ok, such as placing your terrarium on a windowsill, or placing it near or under a lamp or any other artificial light source works too.
A terrarium allows you to very critically control all of the growing aspects for your plant.
As to soil, many people in our begonia society grow their plants in sphagnum moss, but I have found this medium to be difficult to use. I find it hard to gauge how much is too much or too little water to add, and have lost plants by over misting the moss. When transplanting or repotting a plant, I also found it difficult to separate the old spent strands of sphagnum moss from the delicate plant tap roots in order to put the plant into clean fresh new medium and a larger container.
I use a soilless mix that sits on top of a layer of activated charcoal which in turn sits on top of a layer of aquarium pebbles. When I pull out a plant to repot it, I can easily shake off the old potting mix from the charcoal and pebbles without damaging the plant’s roots.
After reading about and talking to several hobbyist and commercial growers, as well as botanists, I have picked up the following process for building a terrarium that I have been using consistently now for over 4 years.
Materials Used:
Make sure that everything you do and everything that you use to make up your terrarium is as clean and sanitized as you can make it, so that you do not introduce bugs or moss spores or anything else that will hurt your terrarium plant success later on.
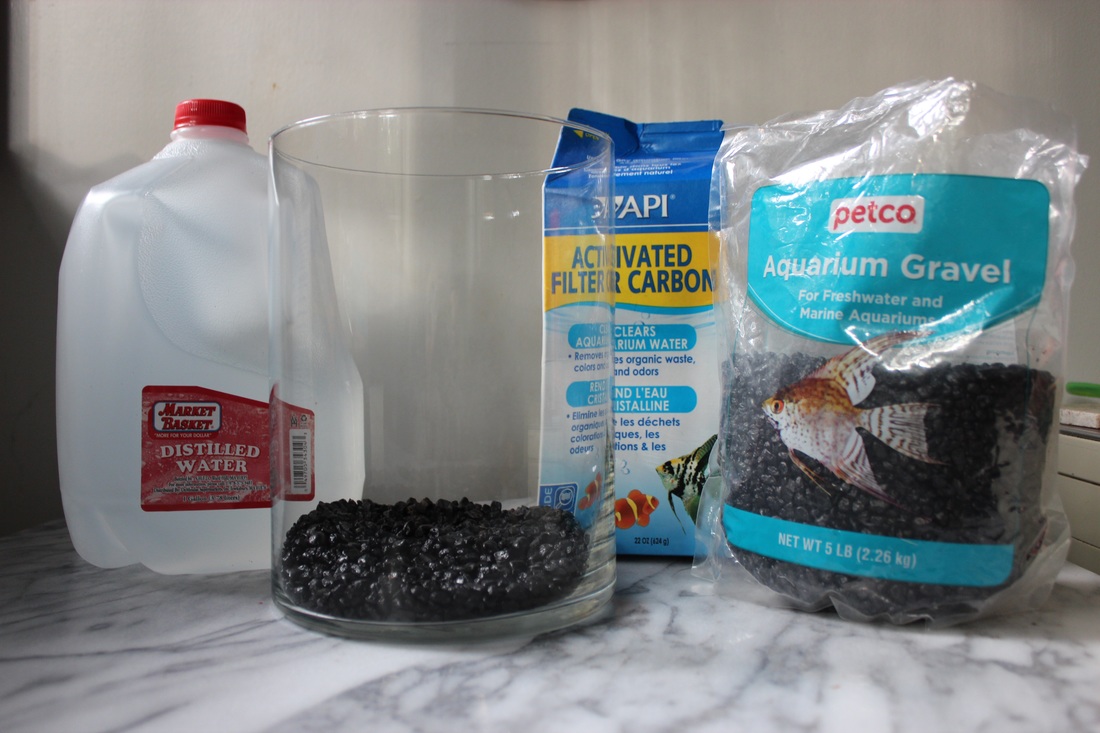
Starting with a sanitized clear container, fill the bottom of the container about a half an inch with aquarium pebbles. I choose black so that the colorful ones do not detract from viewing the plant/terrarium.
Add half an inch to one inch of activated charcoal on top of the pebble layer already in the container.
I have found that growing plants in terrariums is rather easy and orders of magnitude less expensive than building a greenhouse. I have been able to grow some amazingly exotic plants that I would never have dreamed of doing indoors in my New England home. Several rare begonia species that I fell in love with require growing in a terrarium to mimic/maintain the humid environments they are native to, so I had to learn from trial and error and a little help from my friends how to do it.
Using terrariums yields several benefits for anyone wanting to grow rare plants at home. One of the most important benefits is that plant maintenance is reduced considerably. You do not have to be constantly watching the soil to see if it is dry as the terrarium stays fairly moist for a good while, sometimes for as long as several weeks! The covered terrarium becomes an enclosed eco-system, where natural evaporation comes back down to the soil/plant. This means that you can go on vacation and not have to worry about watering your plants or having to find and train someone to do this for you while you are away!
Another benefit of growing in a terrarium is that plants are kept in isolation. If one should get sick, whatever ails it will not be spread to nearby plants! It’s also a great way to quarantine new plants before they are introduced to your collection, or to isolate plants that need special care as they recover from any previous growing problem.
Having small to medium sized terrarium containers instead of large aquariums allows you to move your plants from room to room so you can enjoy them wherever you want, whenever you want, especially when they are putting on a flower show. You do not have to worry so much about wind/drafts or watering, just make sure you do not place a closed terrarium where it will get direct sunlight, as the temperatures inside will get so hot that the plant will die. Bright indirect light is ok, such as placing your terrarium on a windowsill, or placing it near or under a lamp or any other artificial light source works too.
A terrarium allows you to very critically control all of the growing aspects for your plant.
As to soil, many people in our begonia society grow their plants in sphagnum moss, but I have found this medium to be difficult to use. I find it hard to gauge how much is too much or too little water to add, and have lost plants by over misting the moss. When transplanting or repotting a plant, I also found it difficult to separate the old spent strands of sphagnum moss from the delicate plant tap roots in order to put the plant into clean fresh new medium and a larger container.
I use a soilless mix that sits on top of a layer of activated charcoal which in turn sits on top of a layer of aquarium pebbles. When I pull out a plant to repot it, I can easily shake off the old potting mix from the charcoal and pebbles without damaging the plant’s roots.
After reading about and talking to several hobbyist and commercial growers, as well as botanists, I have picked up the following process for building a terrarium that I have been using consistently now for over 4 years.
Materials Used:
- Clear Glass Container or Clear Plastic Container (non-UVA/UVB blocking material)
- Clear Glass or Plastic Container Top (or plastic wrap such as Saran Wrap) to form an air-tight seal top on the terrarium
- Aquarium pebbles/gravel for the bottom of the terrarium (these come in many colors, I prefer black, less distracting)
- Activated carbon/charcoal (used in aquarium filters)
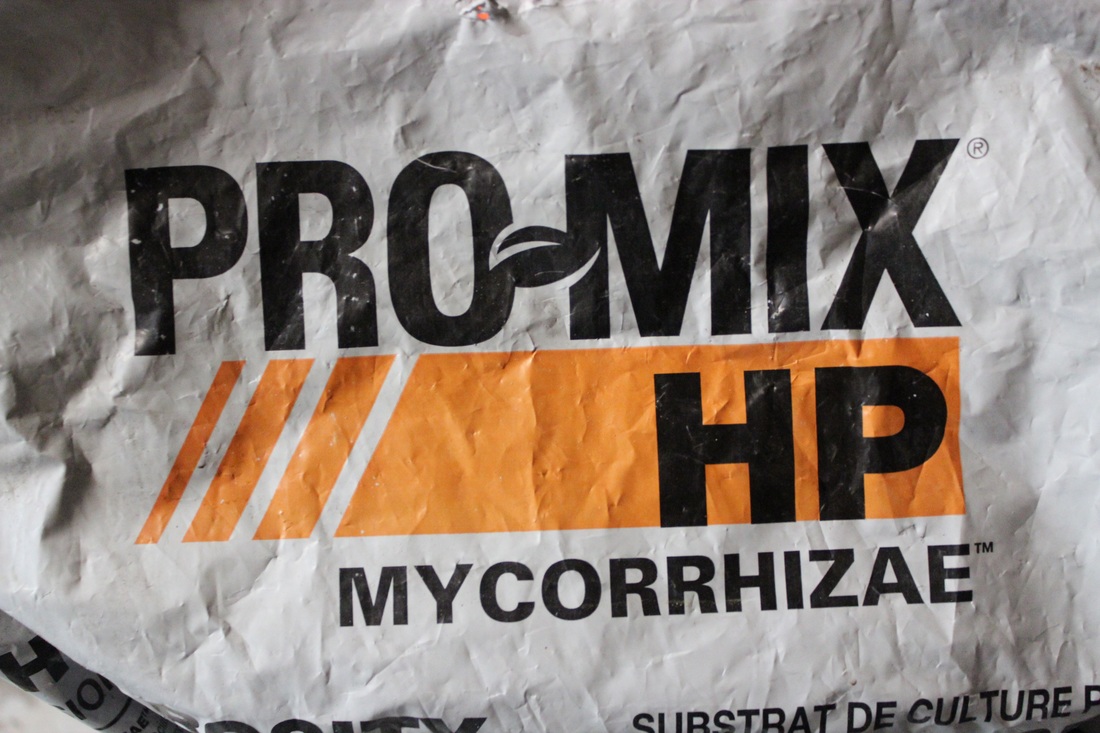
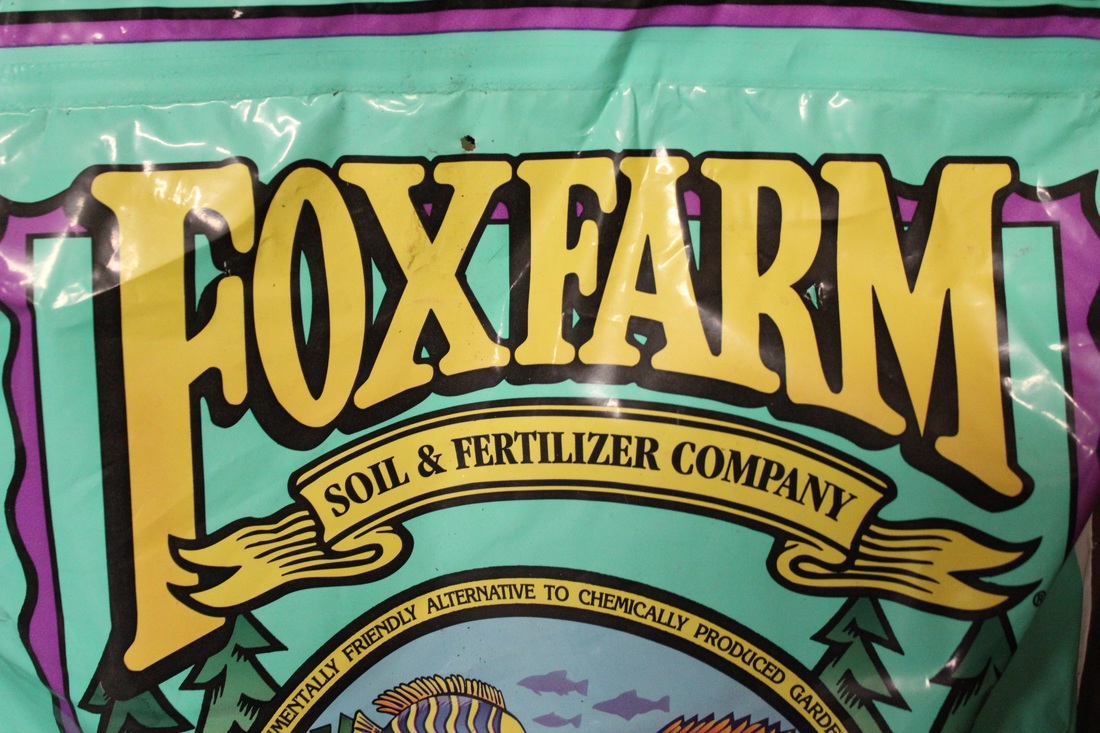
- Soil = Soilless Mix such as Pro-Mix HP with Mycorrhizae (or soilless Miracle Grow Violet Mix, Fox Farm Mix, etc.)
- Neem Oil (or Neem Leaf Powder mixed with a little with water) to add to the soilless mix
- Distilled Water (or Reverse Osmosis Water) so that chemicals do not hurt your plant
- Bright Indirect Light (or artificial lights) to put your terrarium near once it is planted
- Label with the name of the plant, date it was purchased, date placed in terrarium
- Terrarium Plant that requires high humidity levels to grow
- Fertilizer - any 10-10-10 liquid or dry mix used at 1/4 strength of what they suggest, roughly every 2-3 months
- Newspaper, tools such as a long-handled iced tea spoon, extra long tweezers and scissors, bowl for mixing soil
Make sure that everything you do and everything that you use to make up your terrarium is as clean and sanitized as you can make it, so that you do not introduce bugs or moss spores or anything else that will hurt your terrarium plant success later on.
Starting with a sanitized clear container, fill the bottom of the container about a half an inch with aquarium pebbles. I choose black so that the colorful ones do not detract from viewing the plant/terrarium.
Add half an inch to one inch of activated charcoal on top of the pebble layer already in the container.
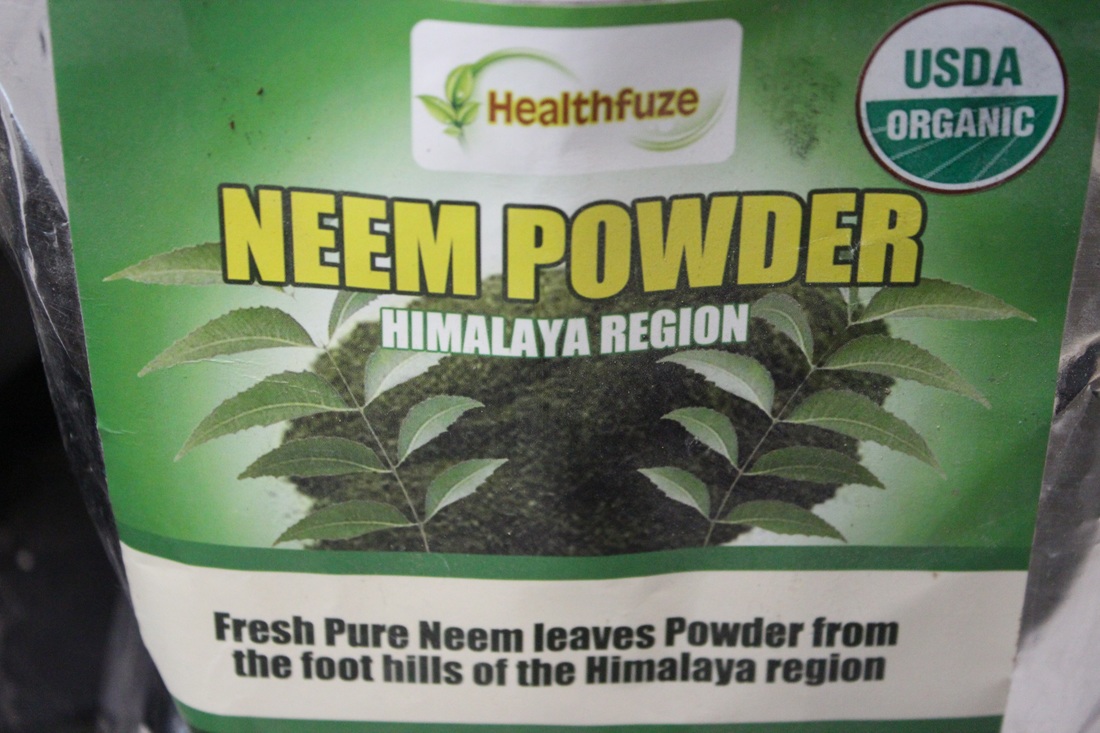
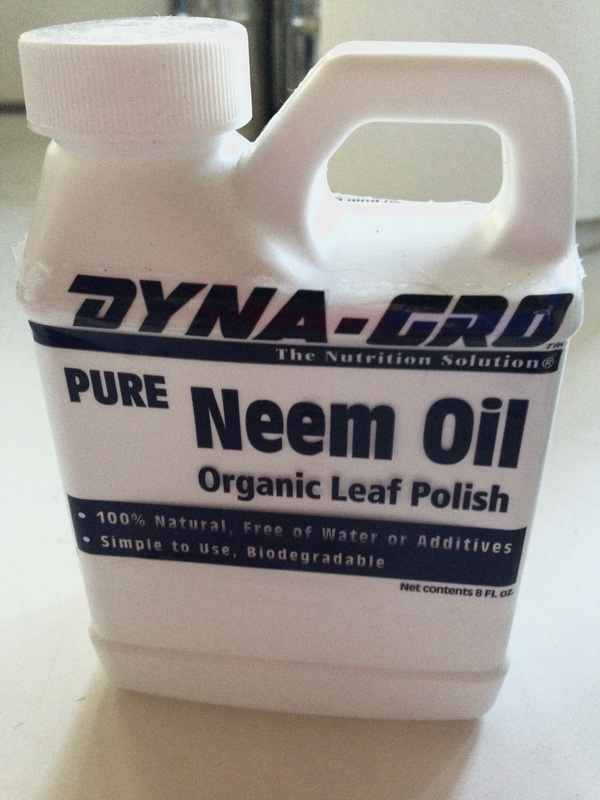
Neem oil prevents any bugs that might exist in the soil from reproducing while in the terrarium and killing your plant. It also works as a fungacide. I add a half a teaspoon of powdered Neem leaves to two teaspoons of distilled water and mix this up then add the mix to the soil and stir it around until it is fairly evenly distributed. Adding liquid Neem oil works just as well.
As another measure of safety or instead of using Neem, for getting clean soilless mix, when I had an old microwave oven that I used exclusively for this, I would bake/nuke my wet soilless mix in the microwave until it got too hot to touch, and then I would let it cool down before placing it in the terrarium and introducing plants to it. You can also bake your soil mix in a regular oven, just make sure you do not dry the mix completely-- add distilled water if it is too dry before putting into the terrarium. Instead of baking, you can try boiling the distilled water and pouring it into your mix and then letting your mix cool.
When you have a fairly moist and room temperature mix, put the mix in as the third layer in the glass container, for about an inch or two. Have leftover soil mix on hand should you need more to fully cover the plant roots.
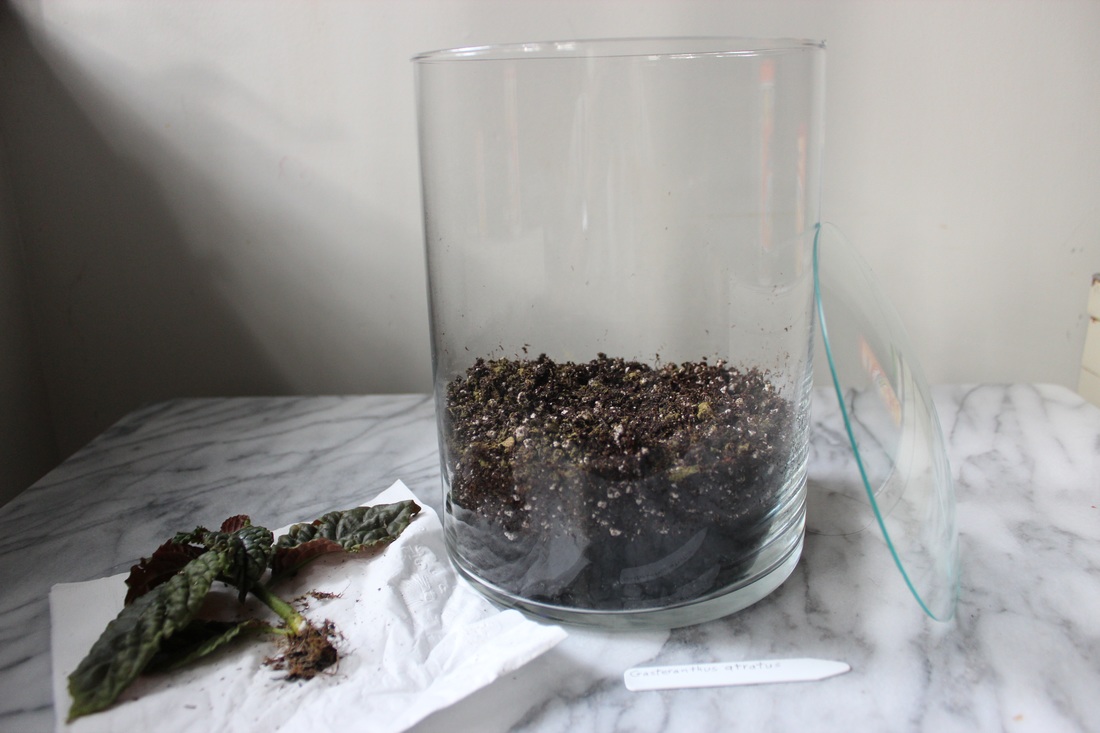
Prepare the terrarium plant by putting it on a piece of newspaper and trimming any dead leaves or stems. Try to remove some or all of the old dirt or sphagnum moss it was growing in. This helps insure that you are not introducing any problems into your terrarium from the old/used soil or spent sphagnum moss.
You can use a newspaper sheet to make a cone or funnel to help you carry and position the plant into the terrarium opening and to help you hold the plant if it has delicate leaves or stems, as you place the roots down into the soil.
Making a newspaper cone around a plant also helps keep a plant together when removing an overgrown plant from a terrarium. You may need to gently reduce the plant size in order to get it through the terrarium opening that it has outgrown without tearing off leaves or bumping or breaking off stems and the newspaper surround helps.
Recycle a long-handled iced tea spoon or a B-B-Q fork bent at the tines to move soil on top of the roots and to pack down the soil, should your hand not fit into the terrarium. Extra long tweezers and scissors also come in handy to remove spent blooms or dead leaves without disturbing your growing plant with your hand fishing around in the terrarium.
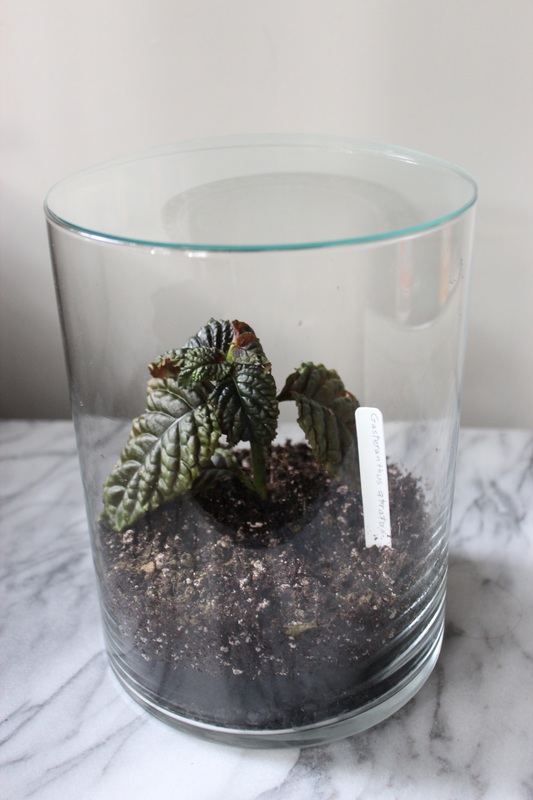
Center the plant on top of the soil mix and make sure the roots are well covered with soil. Add more soil mix if needed, to ensure the plant is securely anchored to the soil layer. Depending on the size of your terrarium, a newspaper cone can be used as a funnel to help add soil to the terrarium around a plant's center without spilling the soil on the leaves or the sides of the glass container.
Make a plant label with the name of the plant. If you already have one, then add the date you placed the plant in the terrarium. Either place the label, if it is waterproof and super clean, inside the terrarium, or tape the label to the bottom, side or top of the terrarium.
If you have a clear glass cover for your terrarium, place it on top and make sure the terrarium is sealed all the way around. If the glass edge is uneven and you do not think the cover is forming a full air-tight seal, your plant could dry out quickly. You may want to cut a piece of plastic wrap (used for wrapping food, such as Saran Wrap) on top of your terrarium opening, and then placing the glass cover on top of the plastic wrap to form a tight seal.
If you do not have a glass cover for your terrarium, then simply use a piece of plastic wrap large enough that it can wrap around the top of your terrarium to make it air tight. Make sure you stretch the plastic wrap as you secure it to the terrarium to make sure this activates its stickiness to the glass. Once it’s tightly on, you can trim the plastic wrap for aesthetics.
Find a place to put your terrarium where your plant will get the level of light it needs to grow. Some plants require bright light, others are fine in semi-shade or shade. You will have to find out what type of light levels your particular plant is meant to thrive in and provide it. And remember to never put a terrarium in a place where it will get direct sunlight for any amount of time as the temperature will rise quite fast inside the air-tight terrarium and your plant will die.
Check your newly planted terrarium the first day or two to make sure the soil mix is not too wet or if there is too much humidity in the terrarium. A little condensation forming on the glass is ok, but if the entire container is soaked and the plant leaves seem drenched, you may need to leave the terrarium cover open for an hour or two to allow some of the moisture to evaporate. But remember to close the container afterwards as it may dry out completely killing the plant.
Once the humidity balance has been reached, your terrarium can go weeks without watering, but just make sure from time to time, that the air-tight seal is still air-tight. Look for signs of visually dry soil, especially if the container is on the smallish side, as the plant may have absorbed all of the water and you may need to add more water as necessary.
To avoid overwatering a terrarium, you can use a tiny container, or recycle a medicine bottle or a bottle with a bottle dropper, and add only distilled water in dropperful amounts to the soil mix.
If you overwater, you can tilt your terrarium slightly on one side and use paper towels to absorb as much of the excess water that pools on the side, after the soil has already been saturated sufficiently.
If you have any questions on how to grow a particular begonia plant, or how to take care of your terrarium, please do not hesitate to attend one of our monthly meetings. We have members with many years’ experience growing rare and exotic plants and they love to share their knowledge.
Happy Growing!
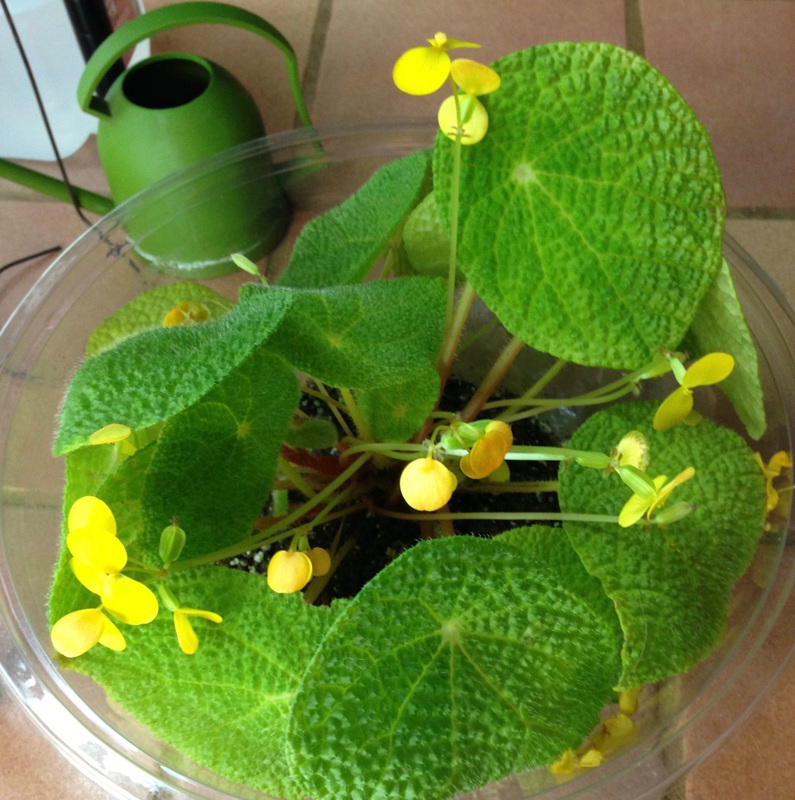
Begonia microsperma